Flow Inspector’s AI Analysis panel lets you ask questions about a contact’s automation timeline in plain language and get diagnostic answers in seconds. Instead of manually cross-referencing execution logs and tag histories, you can ask things like “why might this workflow have been skipped?” or “what’s the longest timing gap and what caused it?” and get a context-aware response based on the actual timeline data in front of you.
AI Analysis is optional, Flow Inspector works without it. But if you’re regularly diagnosing complex automation problems or need to explain what happened in a contact’s journey to a client, it’s worth setting up.
To use it you’ll need an API key from a third-party AI provider. Flow Inspector supports OpenRouter and OpenAI. You bring your own key, connect it once, and pay your provider directly based on your usage. Flow Inspector never charges for AI usage separately.
Setup takes about five minutes, assuming you have already worked through the Flow Inspector setup guide and have a contact timeline loaded.
Step 1: Select Your AI Provider
Flow Inspector supports two AI providers: OpenRouter and OpenAI. Both work well — the right choice depends on how you want to manage your AI access and which models matter to you.
OpenRouter (Recommended)
OpenRouter is a single API that gives you access to virtually every major AI model available today: Claude from Anthropic, GPT from OpenAI, Gemini from Google, and many others, all from one key. You purchase credits upfront and spend them across whichever models you choose. If you want the flexibility to switch models without managing multiple provider accounts, OpenRouter is the better choice.
Get started at OpenRouter.ai.
OpenAI
If you already have an OpenAI platform account or prefer to work directly with OpenAI’s models, you can connect using an OpenAI API key instead. The OpenAI API is pay-as-you-go based on token usage, so you’ll need a payment method on file at platform.openai.com to generate a usable key. Note that a ChatGPT Plus subscription does not include API access, the API platform is separate and billed independently.
Get started at platform.openai.com.
Step 2: Get Your API Key
Option A: OpenRouter
- Go to openrouter.ai and create an account if you don’t have one already.
- Once logged in, navigate to Credits and purchase credits. OpenRouter is pay-as-you-go, so you’ll spend credits based on which model you use and how many tokens each analysis consumes. A small initial $5 USD credit purchase is enough to get started.
- Navigate to Keys in your OpenRouter dashboard and click Create Key. Give it a name you’ll recognize such as “Flow Inspector”.
- Copy your key immediately, it won’t be shown again after you navigate away.
Option B: OpenAI
- Go to platform.openai.com and create an account. This is separate from ChatGPT.com, so even if you have a paid ChatGPT account, you’ll need to sign up for and fund the API platform independently.
- Once logged in, navigate to Organization Settings → Billing and add a payment method. Once added, purchase credits to fund your account. The minimum is $5, which is plenty to use the Analyzer to get started.
- Navigate to API Keys and click Create new secret key. Give it a name such as “Flow Inspector”.
- Copy your key immediately, OpenAI only displays it once.
Step 3: Configure AI Analysis in Flow Inspector
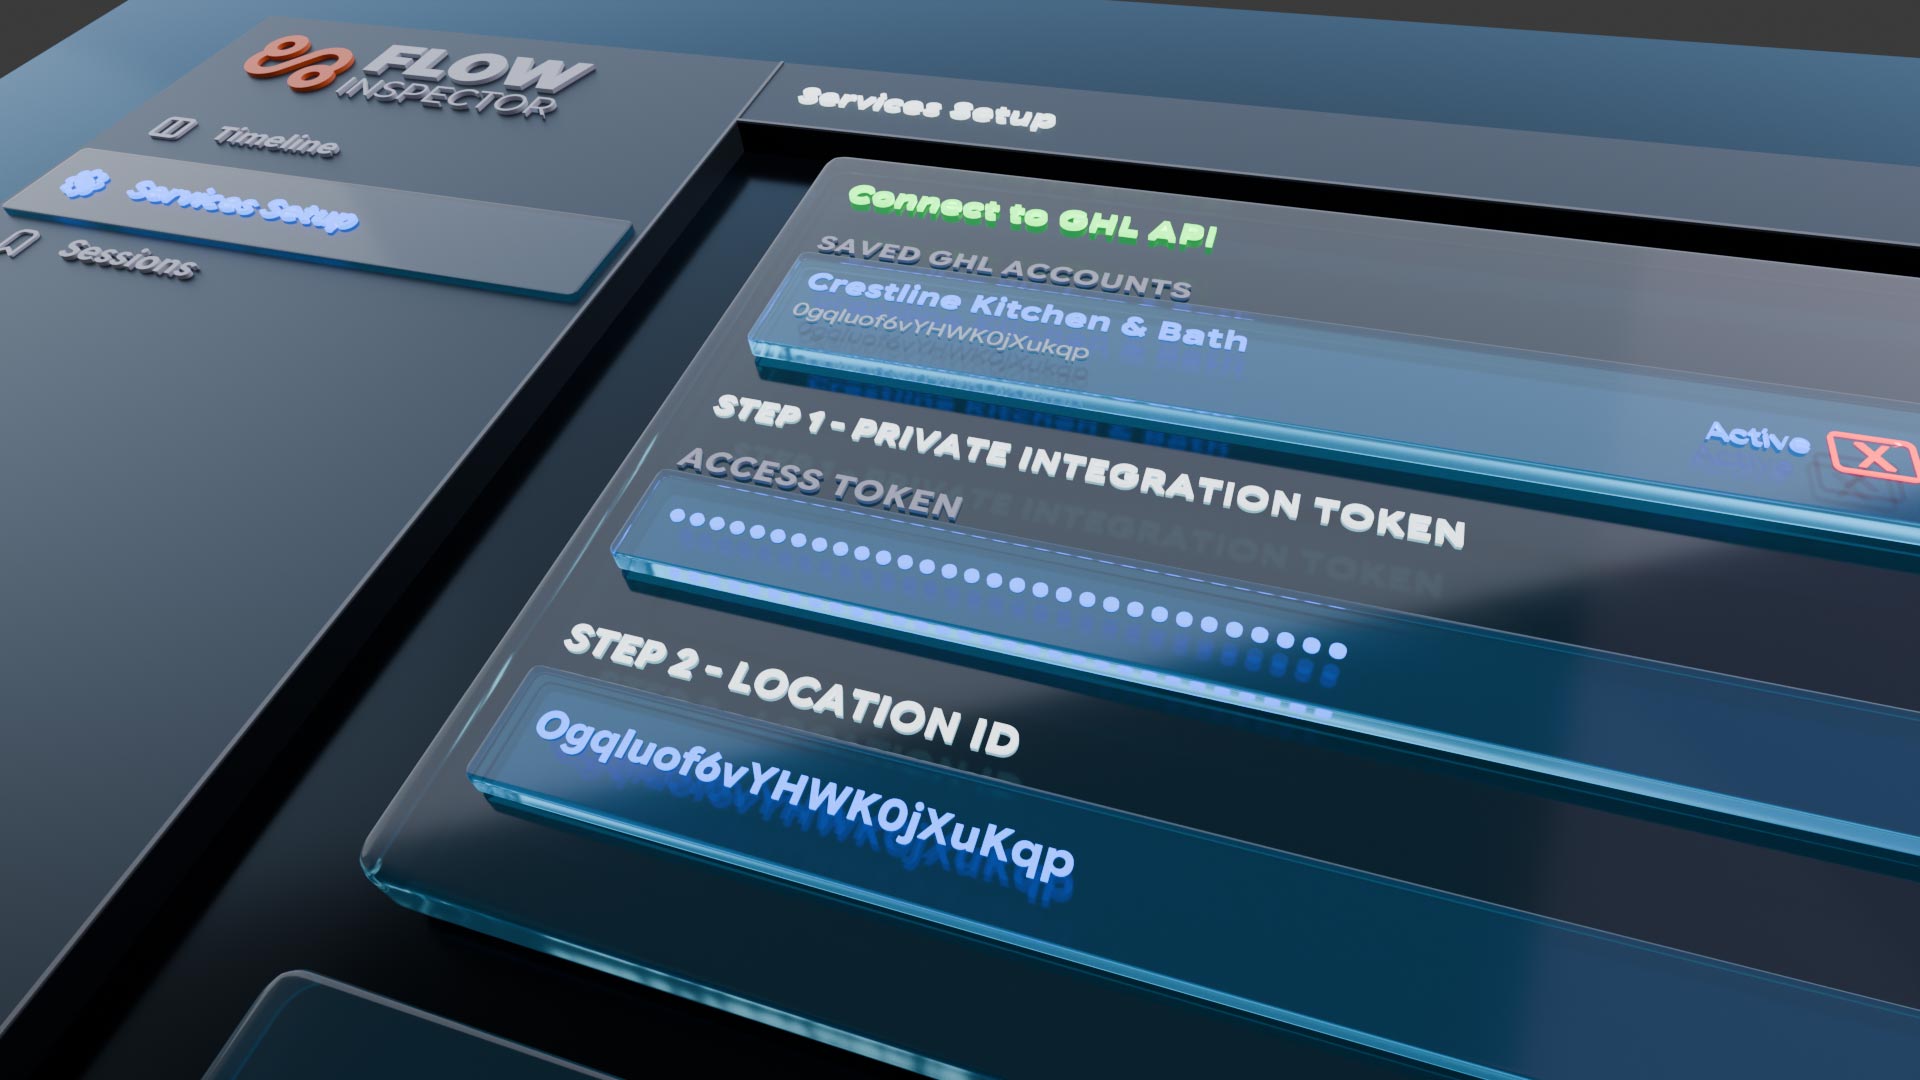
With your API key ready, head to go.flowinspector.app and log in. In the left sidebar click Services Setup, then scroll down to the AI Analysis (Optional) card and click to expand it.
Select your provider: OpenRouter or OpenAI, using the toggle at the top of the card. The API key input field will update to reflect your chosen provider.
Paste your API key into the input field and click Save API Config.
Once your key is saved, the model dropdown will populate with the available models for your provider. Select the model you want to use for AI Analysis. If you’re not sure where to start, any of the mid-tier models from your chosen provider will handle timeline analysis well without burning through credits quickly.
Click Save API Config again to save your model selection.
Step 4: Customize Your Analysis Prompt (Optional)
Flow Inspector comes pre-loaded with a default analysis prompt that gives the AI everything it needs to understand your timeline data: what Flow Inspector is, how GHL automations work, and how to provide useful diagnostic responses. For most users, the default prompt works well out of the box and no changes are needed.
That said, the more context the AI has about your specific setup, the more useful its responses will be. If you work in a specific industry, use a consistent workflow naming convention, or have GHL tag structures that would be useful for the AI to understand, adding that context to the prompt will produce noticeably better analysis.
To customize the prompt, scroll down to the Analysis Prompt section below the API configuration. Edit the prompt directly in the text area. You can add to the existing prompt or rewrite sections as needed. When you’re done click Save Prompt.
Your custom prompt is saved to your account and used automatically for every analysis going forward.
If you ever want to start fresh, click Reset to Default to restore the original prompt.
Step 5: Run Your First Analysis
With AI Analysis configured, load a contact timeline in Flow Inspector. In the Timeline toolbar at the top of the screen, click AI Analyze. A tray slides out from the right side of the screen with the AI Analysis interface.
At the top of the tray you’ll see five Quick Prompts — pre-written questions that cover the most common diagnostic starting points:
- Summarize this contact’s automation journey
- Identify timing gaps and potential race conditions
- What tags were added and in what order?
- Why might a workflow have been skipped?
- What’s the longest gap and what caused it?
Click any Quick Prompt to send it immediately, or type your own question in the text field at the bottom of the tray and press Enter to send.
The AI analyzes your timeline data and returns a response based on what’s actually in the timeline, not a generic answer.
The analyzer is structured so that it walks through your automation setup, identifies any issues and then grades the overall automation journey for that contact. It ends by giving Recommended Actions if there are any issues or potential issues that are flagged.
After the initial response you can continue the conversation by typing follow-up questions to go deeper on anything in the response.
To close the tray, click Close AI in the toolbar.
Saving Sessions with AI Analysis
When you’re ready to save your timeline as a session, click Sessions in the left sidebar. The Sessions modal will open with a Save Current Session panel at the top.
You’ll see a checkbox labeled Include AI conversation history in session directly below the session name field. When checked, the full transcript of your AI Analysis conversation is saved alongside the timeline data. When unchecked, the session saves without it.